Best Gluten Free Croissants

Best Gluten Free Croissants are one of those things people swear you cannot make at home, and honestly, I used to believe that too. The first time I went gluten free, croissants were the food I missed the most, because nothing else hits that buttery, flaky, cozy vibe. I also got tired of paying a lot for tiny bakery ones that were either dry or weirdly gummy. So I started testing, failing, and tweaking until I landed on a version I actually get excited about. If you want a croissant that looks cute on a brunch plate and tastes like you did not compromise, you are in the right place.

Why this recipe works
Gluten free baking can feel like a different universe, but croissants are not impossible. You just need a dough that can bend and roll without cracking, plus a method that builds flaky layers without turning into a butter puddle.
Here is why my approach works even if you are not a pastry person:
- It uses a well balanced gluten free flour blend so the dough has structure but still stays tender.
- Psyllium husk and a little fat help the dough behave more like classic croissant dough.
- Cold dough and cold butter are the whole game. If either warms up too much, you lose layers.
- Short, realistic chilling breaks make this doable in a home kitchen.
Also, I like recipes that fit into real life. I will often make the dough in the evening, chill it overnight, and bake in the morning. While they bake, I usually throw together something cozy like gluten-free tomato soup for later, because flaky pastries and soup is a top tier combo in my house.
The secret to making a perfect gluten free croissant
The secret is not a magical ingredient. It is the texture of the dough before you even start folding. If your dough is too dry, it will crack and the butter will escape. If it is too wet, it will smear and you will get dense rolls.
My simple “right dough” checklist
Before laminating, I always check these:
- The dough feels cool and slightly tacky, but it does not stick aggressively to your fingers.
- When you press it, it holds the dent for a second, then slowly bounces back.
- It rolls without tearing at the edges. A few small cracks are okay, big splits are not.
Now for the butter. You want it cold but flexible. If it snaps, it is too cold. If it squishes like frosting, it is too warm. I usually pound it gently between parchment until it is a flat rectangle, then chill it again for a few minutes. This part sounds fussy, but it is what gives you those layers that make people go quiet after the first bite.
And yes, you can absolutely make Best Gluten Free Croissants without a fancy marble counter. I use a regular wooden rolling pin and a little patience.
Expert tips
I have made these enough times to learn what actually matters and what is just internet noise. Here are my best tips, the ones that save a batch when you are halfway in and questioning your life choices.
Tiny moves that make a big difference
- Keep flouring lightly: Too much extra flour makes the dough dry, but too little causes sticking and tearing.
- Chill any time the butter feels soft: If you touch the dough and it feels warm, pop it in the fridge for 10 to 15 minutes.
- Trim edges before final shaping: Squared off edges help the layers rise more evenly.
- Do not rush proofing: Gluten free dough needs time to puff. If your kitchen is cold, it will take longer.
- Use an egg wash: This is how you get that bakery shine and color.
If you want to serve these with something savory and easy, I am obsessed with pairing them with peppery eggs or a quick skillet meal. This is also a random place where I will admit I snack while I cook, so if you need another dinner idea for later, my gluten-free cheese and pepper situation is basically comfort food on autopilot.
“I have tried three gluten free croissant recipes and this is the first one that actually gave me flaky layers. The chilling reminders were the key. I made them for my mom and she thought they were from a bakery.”
Ingredient substitutions
I get a lot of questions about swaps, because everyone has a different pantry and sometimes different allergies too. Here is what I have tried, what works, and what I would not mess with if you want the best chance at success.
Flour blend: Use a high quality gluten free all purpose blend that is meant for yeast baking. If your blend does not include xanthan gum, you will likely need to add it. This recipe depends on that structure. I cannot promise Best Gluten Free Croissants with random single flours unless you are experienced with custom blends.
Psyllium husk: This is one of those ingredients that makes gluten free dough less fragile. If you cannot use psyllium, you can try ground chia husk, but the texture will be a bit different and sometimes more bready.
Butter: You can use dairy free butter sticks for the lamination, but pick one that stays firm when chilled. Soft tub spreads do not work here. Flavor wise, real butter is unbeatable, but dairy free versions can still give you a nice flaky result if you keep everything cold.
Milk: Regular milk, lactose free milk, or unsweetened oat milk are all fine. Just do not use something super watery.
Sugar: You can reduce it slightly, but do not remove it completely. A little sugar helps with browning and yeast activity.
Egg: If you cannot do eggs, you can skip the egg wash and brush with milk or cream instead. The shine will be softer, but still pretty.
Baking Gluten Free Croissants
This is the part everyone wants, so here is my simple home method. I am keeping it straightforward, because I want you baking, not reading a pastry textbook.
What you will need
- Gluten free all purpose flour blend suitable for yeast baking
- Psyllium husk powder
- Instant yeast
- Sugar
- Salt
- Milk, warmed slightly
- Butter for the dough plus a larger amount for laminating
- 1 egg for egg wash
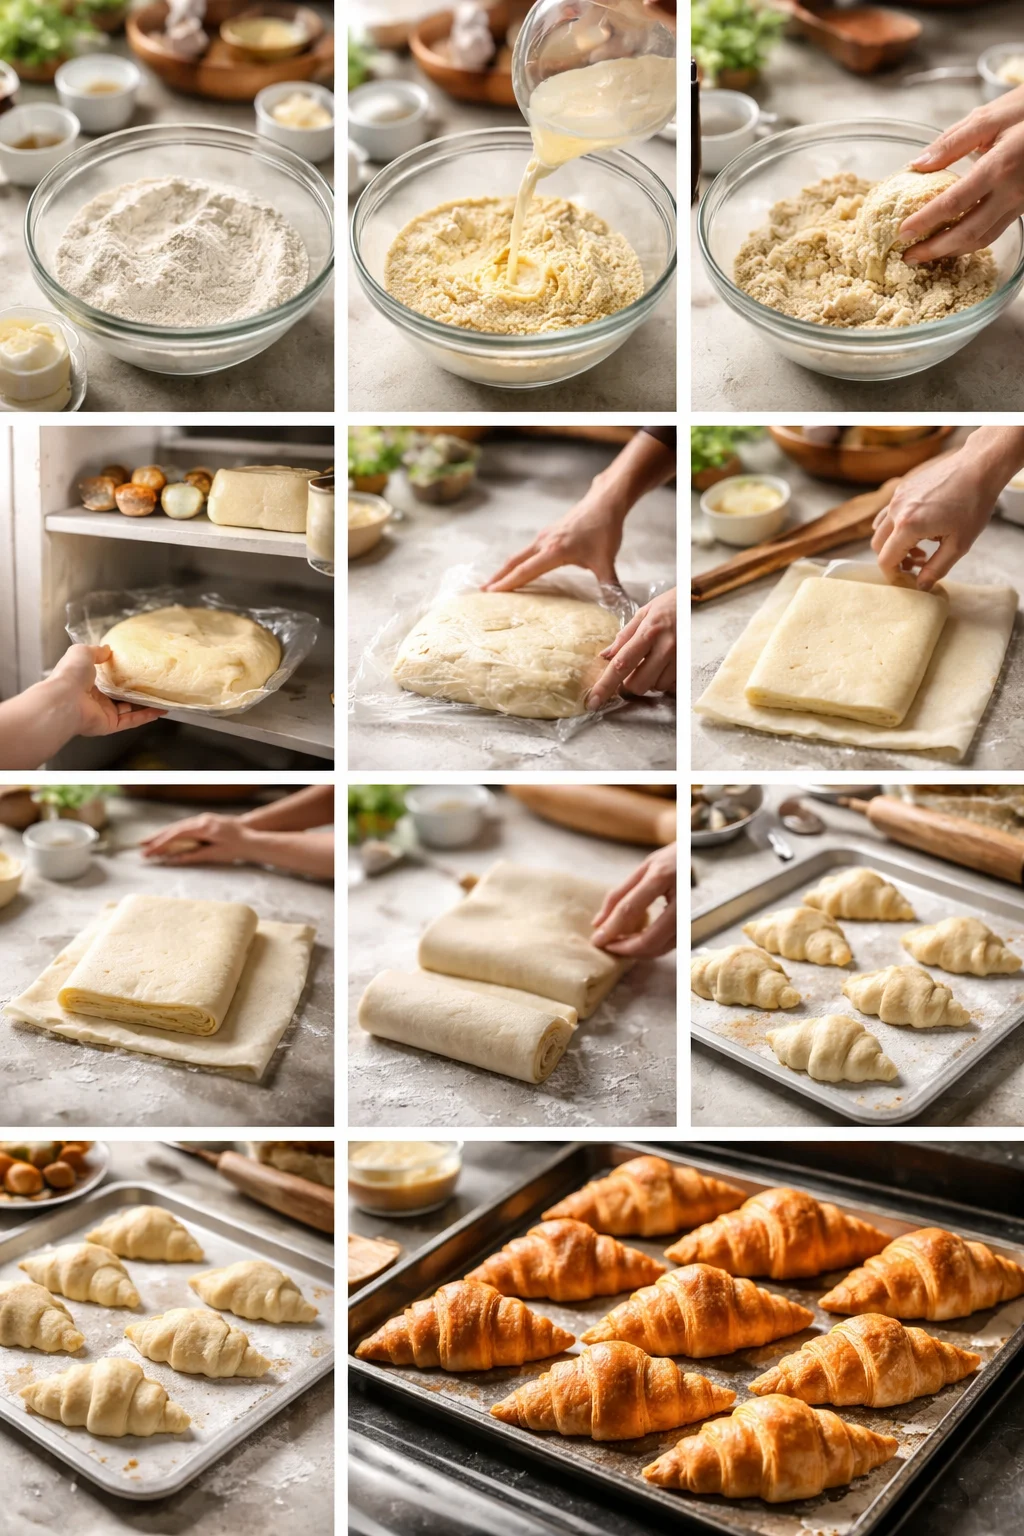
My step by step directions
1) Make the dough. Mix your dry ingredients first, then add warm milk and the butter meant for the dough. Stir until it looks like a rough, thick dough. Let it sit for a few minutes so the psyllium can do its thing, then gently knead it into a smoother ball.
2) Chill. Press the dough into a rectangle, wrap it, and chill for at least 1 hour. Cold dough is easier to roll and far less sticky.
3) Prep the butter block. Flatten the laminating butter into a rectangle between parchment. Chill it until it is cold but bendable.
4) Lock in the butter. Roll the dough larger than your butter block, set butter in the center, and fold the dough over it so the butter is fully enclosed.
5) Fold and chill. Roll gently into a longer rectangle, then fold like a letter. Chill 20 to 30 minutes. Repeat this rolling and folding two more times, chilling between rounds. If anything feels warm, chill again. This is where the flaky layers come from.
6) Shape. Roll the dough into a big rectangle, then cut long triangles. Roll each triangle up from the wide end to the tip. Place on a lined baking sheet with the tip tucked under.
7) Proof. Let them rise until visibly puffy. In a warm kitchen this might be 1 to 2 hours. They will not double like wheat croissants, so look for softness and a noticeable lift.
8) Bake. Brush with egg wash. Bake until deeply golden and you can smell that buttery toasted aroma. Let them cool for at least 10 minutes before tearing in, unless you like burning your mouth like I always do.
If you are chasing that “bakery bite,” here is my honest take. The first day is peak flake. The second day is still delicious warmed in the oven. After that, slice and toast, or turn them into breakfast sandwiches and call it a win.
Common Questions
Can I make the dough ahead of time?
Yes. I often chill the dough overnight after the first mix, then laminate the next day. You can also shape the croissants, refrigerate them, and proof and bake in the morning.
Why did my butter leak out while baking?
Usually the dough got too warm during rolling, or the butter was too soft. Next time, chill more often and keep your rolling sessions short.
How do I store them?
Store airtight at room temp for a day. After that, freeze them. Rewarm in the oven so they crisp back up.
Can I freeze unbaked croissants?
Yes. Freeze after shaping. Thaw in the fridge overnight, then proof at room temp until puffy and bake.
What if my dough cracks when I roll it?
Stop and let it rest and warm slightly for 5 minutes, then roll again gently. If it is dry, lightly brush with milk and press the crack together before continuing.
A warm, flaky send off
Once you get the hang of chilling and folding, Best Gluten Free Croissants become totally doable, and honestly kind of fun. The payoff is huge: crisp layers, a soft center, and that buttery smell that makes your kitchen feel like a little cafe. If you want to compare methods or see another trusted approach, I also recommend this resource: Gluten Free Croissant Recipe – gfJules – with the #1 Flour & Mixes. Try a batch this weekend, and if your first one is not picture perfect, eat it anyway because the “ugly” ones usually taste amazing.
Print
Best Gluten Free Croissants
- Total Time: 60 minutes
- Yield: 8 servings 1x
- Diet: Gluten Free, Vegetarian
Description
Delicious homemade gluten-free croissants with flaky layers, perfect for brunch or a cozy breakfast.
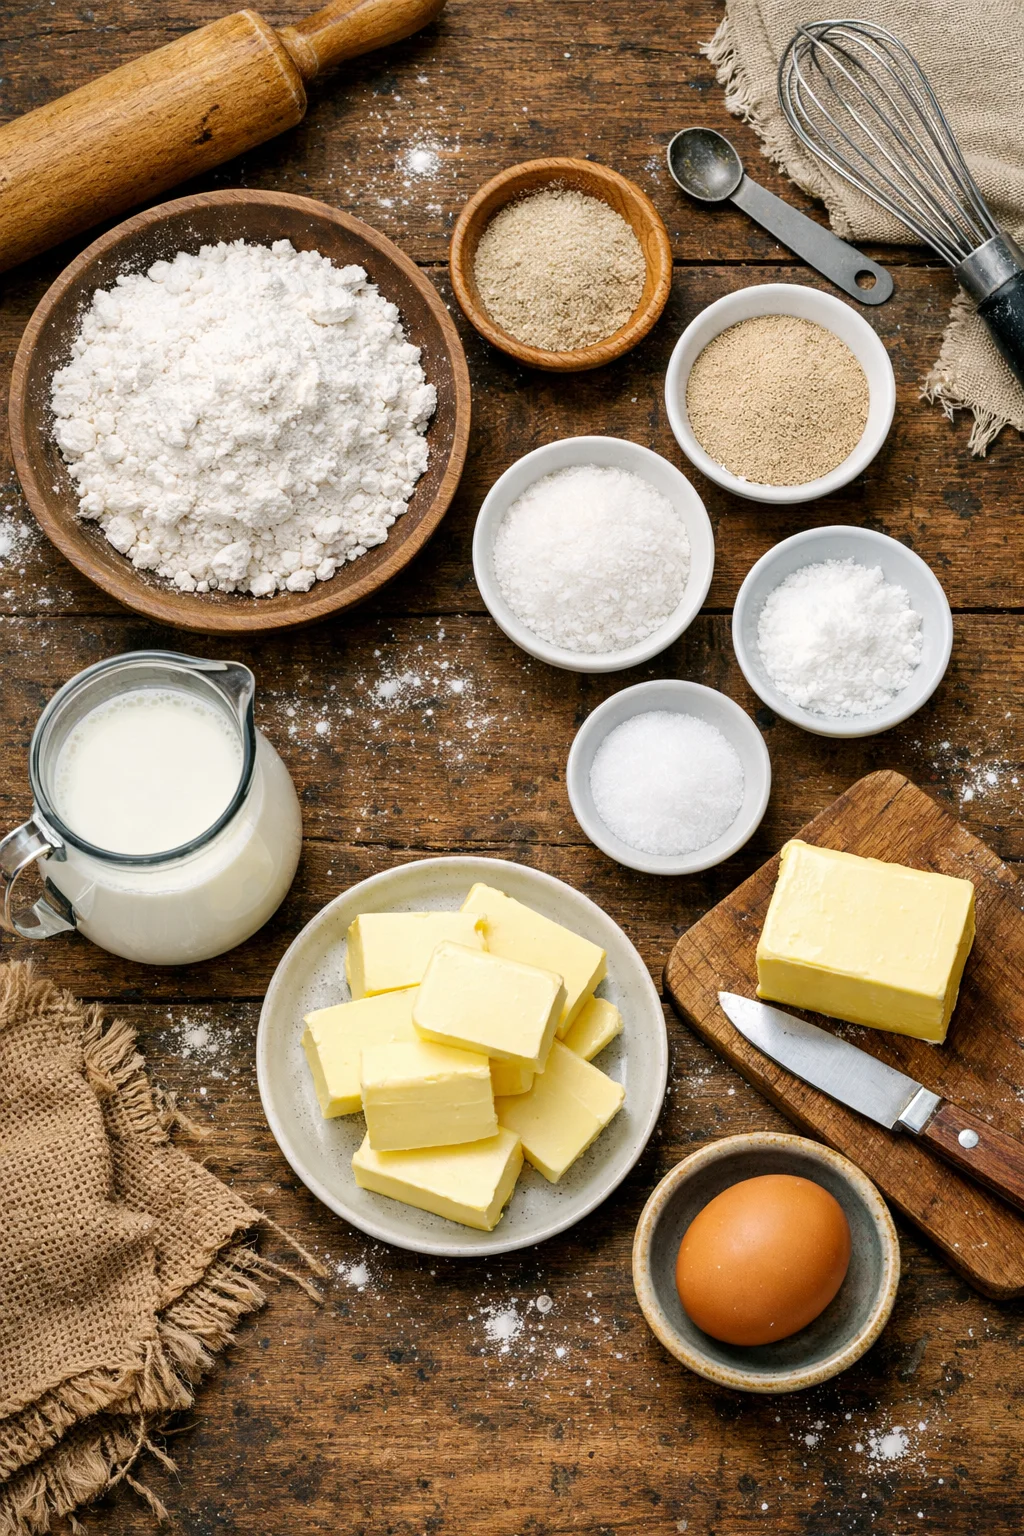
Ingredients
- 2 cups gluten free all-purpose flour blend
- 1 tablespoon psyllium husk powder
- 2 teaspoons instant yeast
- 1 tablespoon sugar
- 1 teaspoon salt
- 3/4 cup milk, warmed slightly
- 1/2 cup butter for the dough
- 3/4 cup butter for laminating
- 1 egg for egg wash
Instructions
- Make the dough by mixing dry ingredients, then add warm milk and butter. Stir until it forms a rough dough. Let it sit for a few minutes, then knead into a smoother ball.
- Chill the dough in a rectangle shape for at least 1 hour.
- Prep the laminating butter by flattening it between parchment and chilling it until cold but flexible.
- Roll the dough larger than the butter block, enclose the butter, and fold the dough over it.
- Roll into a longer rectangle, fold like a letter, and chill for 20-30 minutes. Repeat this two more times.
- Shape the dough into long triangles and roll each triangle from the wide end to the tip, placing on a lined baking sheet.
- Proof until visibly puffy, for about 1 to 2 hours.
- Brush with egg wash and bake until deeply golden, then cool for at least 10 minutes before serving.
Notes
Chill the dough and butter often to ensure flaky layers. Pair with savory dishes like peppery eggs for delicious combinations.
- Prep Time: 30 minutes
- Cook Time: 30 minutes
- Category: Breakfast
- Method: Baking
- Cuisine: French
Nutrition
- Serving Size: 1 croissant
- Calories: 250
- Sugar: 2g
- Sodium: 350mg
- Fat: 14g
- Saturated Fat: 10g
- Unsaturated Fat: 3g
- Trans Fat: 0g
- Carbohydrates: 28g
- Fiber: 3g
- Protein: 4g
- Cholesterol: 30mg
Keywords: gluten free, croissants, breakfast, flaky pastries