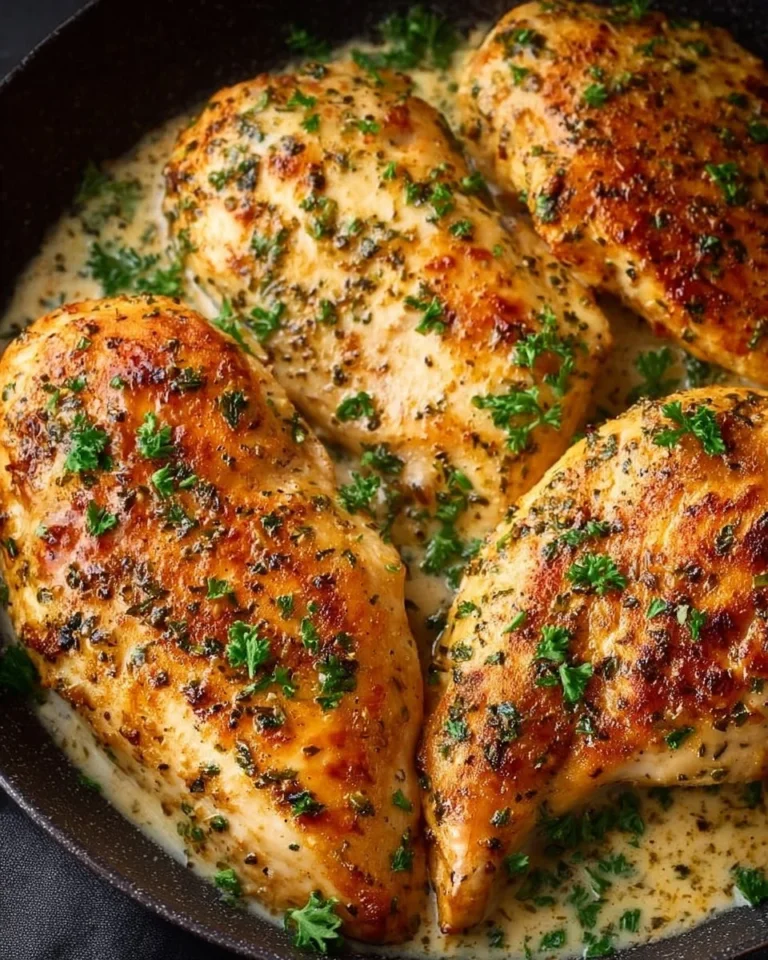
Crispy and Juicy Panko Crusted Chicken
panko crusted chicken is one of those weeknight saves that feels like you actually tried, even if you were this close to ordering takeout. I started making it when I got tired of chicken turning out kind of bland or weirdly dry, especially when I baked it. The crunchy coating fixes that problem fast, and the inside stays juicy if you treat it right. This is the kind of dinner that makes everyone hover around the kitchen because it smells like something way fancier than it is. Also, it is great for picky eaters because it is basically crunchy chicken with no drama.

How To Bake Panko Crusted Chicken
I bake this because I love crispy chicken, but I do not love frying oil splatters all over my stove. Baking can still get you that crunchy bite, you just need a couple small tricks. I am going to walk you through it in a very normal, non chef way, because that is how I cook at home.
What you will need
Here is the simple lineup. Nothing wild, and you probably have most of it already.
- Chicken breasts (or cutlets if you want faster cooking)
- Panko breadcrumbs
- Grated Parmesan (optional but so good)
- Eggs
- Flour (just a little for the first dip)
- Salt and pepper
- Garlic powder and paprika (my usual comfort combo)
- Olive oil spray or a little oil brushed on top
I know flour sounds like an annoying extra step, but it helps the egg stick evenly. That means the panko sticks better too, and you get fewer sad bare patches after baking.
Step by step directions
1) Heat your oven to 425 F. High heat helps the coating crisp up before the chicken dries out.
2) Prep your pan. Use a sheet pan with parchment, and if you have a wire rack, use it. Air flow under the chicken makes it crispier. If you do not have a rack, it is still fine. Just flip halfway through.
3) Set up three bowls. One with flour plus a pinch of salt and pepper, one with beaten eggs, and one with panko. In the panko bowl I mix in Parmesan, a little salt, pepper, garlic powder, and paprika.
4) If your chicken breasts are thick, flatten them a bit. Put them between plastic wrap and gently pound to an even thickness. This is the boring step that pays off because the chicken cooks evenly and stays juicy.
5) Bread the chicken. Dip each piece in flour, then egg, then press into the panko mixture. Press firmly. You want the crumbs to really hug the chicken.
6) Place on the pan and lightly spray or brush the tops with oil. Do not skip this. A little fat helps the panko turn golden and crunchy.
7) Bake about 18 to 22 minutes depending on thickness. If you are using thin cutlets, start checking at 15 minutes.
8) Check doneness the safe and easy way. Chicken should hit 165 F in the thickest part. If you do not have a thermometer, cut into the thickest piece. The juices should run clear and the center should not look glossy.
9) Let it rest for 5 minutes. This is the hardest step because it smells amazing, but resting keeps the juices inside instead of running out onto the cutting board.
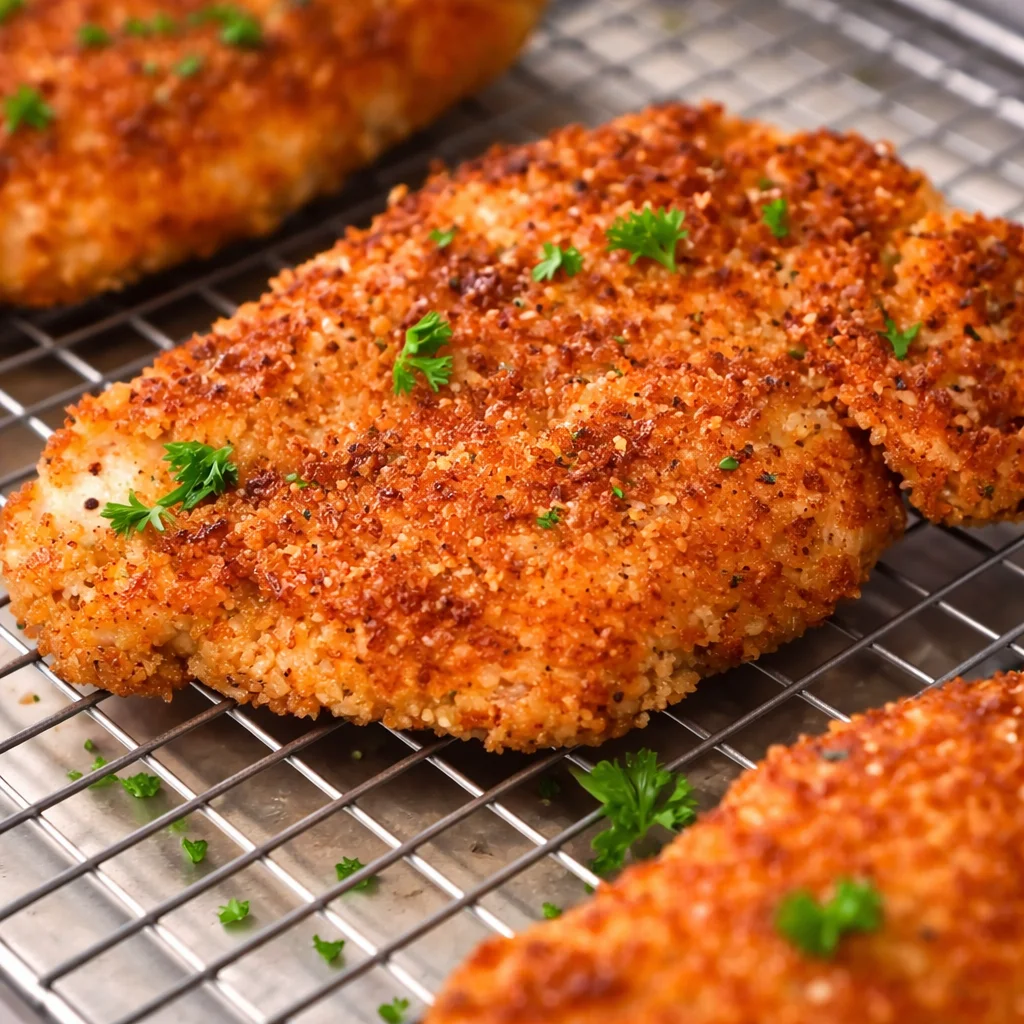
When I nail it, the coating is crisp and crackly, and the chicken is tender. That is the whole goal. 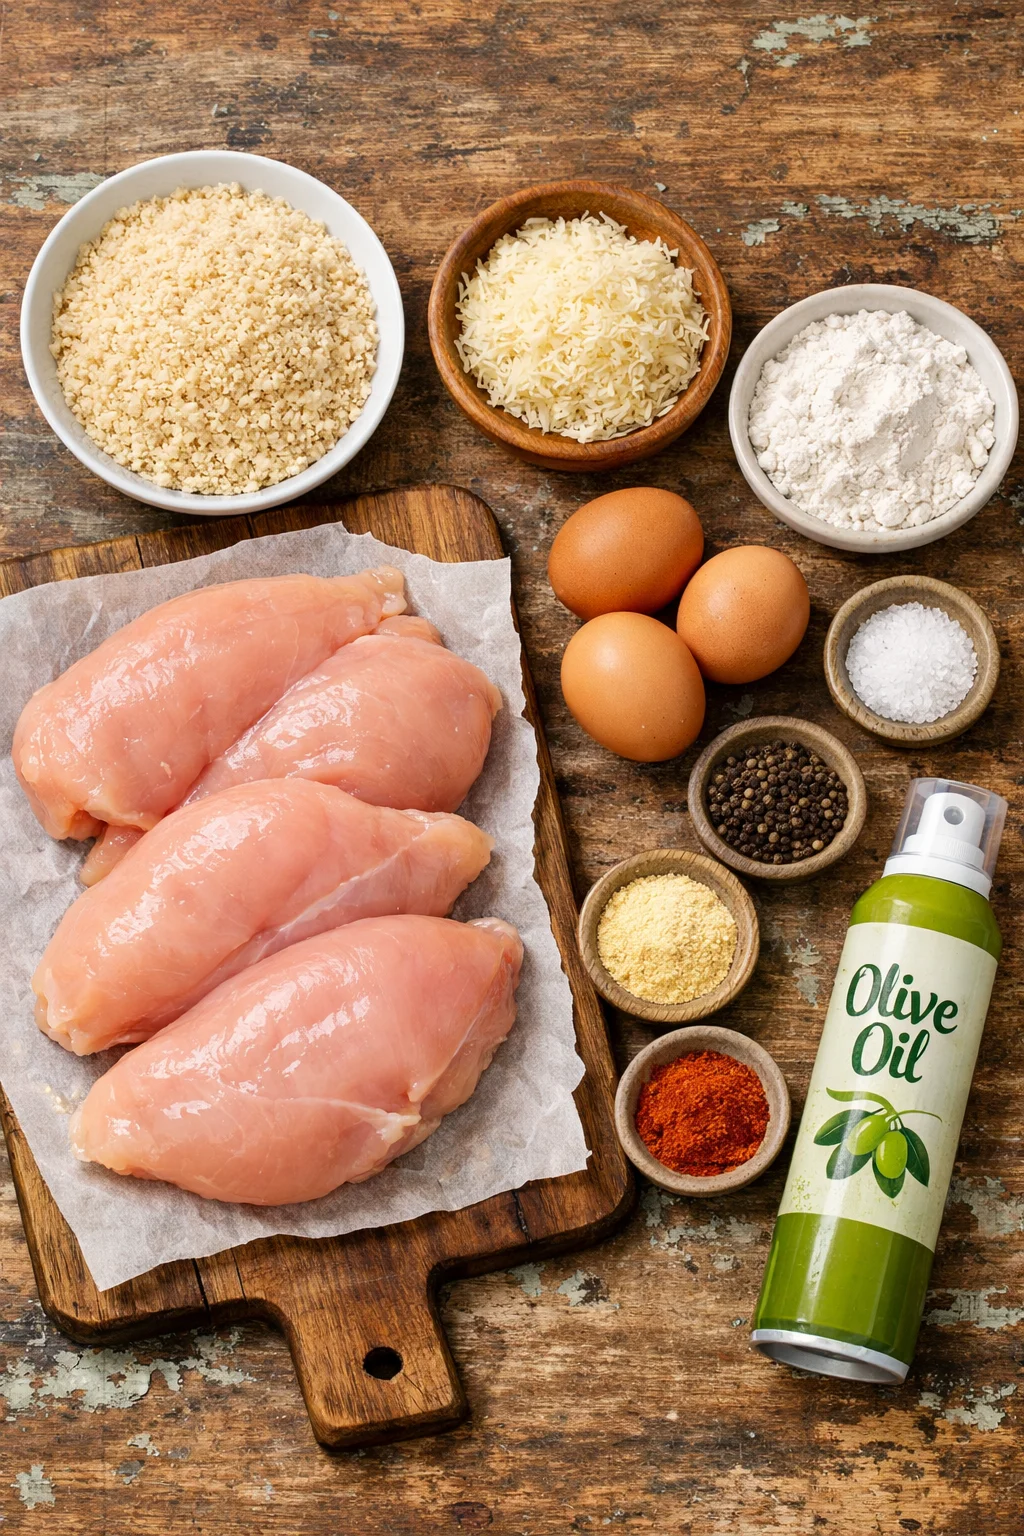
Best Tips For Success!
This is the part where I share the little things I learned the hard way. Like the time I used thick chicken breasts, did not flatten them, and ended up with a crispy outside and a not quite cooked middle. Not my finest moment.
Tip 1: Toast the panko if you want extra color. If you are craving deep golden crunch, toast the panko in a skillet with a tiny bit of oil for 3 to 5 minutes, stirring until lightly browned. Then bread the chicken like normal. This is optional, but it makes the coating look like restaurant chicken.
Tip 2: Do not drown it in egg. Let the extra egg drip off before you press into the crumbs. Too much egg can make the coating a little heavy.
Tip 3: Give the chicken space. If the pieces are crowded, they steam. Steam equals soft coating. Use two pans if you need to.
Tip 4: Season every layer lightly. A tiny pinch of salt in the flour, a little in the panko, and you are set. This is how the whole bite tastes good, not just the crust.
Tip 5: Use a thermometer if you can. I used to guess, and sometimes I guessed wrong. A basic thermometer makes this recipe way more consistent.
Once you do it a couple times, you will feel like panko crusted chicken is basically on autopilot.
Substitutions
I am all about using what you already have. This recipe is flexible, and I have swapped a bunch of things depending on what was in my pantry.
Chicken options: You can use chicken thighs if you prefer darker meat. They are naturally juicier, just plan for a little longer cooking time. You can also slice chicken breasts in half horizontally to make cutlets, which cook faster and stay tender.
Panko swap: If you do not have panko, regular breadcrumbs work, but the crunch is not quite the same. If you have crushed cornflakes, those make a super crunchy coating too. Just crush them fairly small so they stick.
Egg free option: You can use mayo or plain yogurt as the sticky layer instead of egg. It sounds odd until you try it. It keeps the chicken moist, and the crumbs still stick.
Gluten free: Use gluten free panko and swap the flour for a gluten free blend. Everything else stays the same.
Dairy free: Skip the Parmesan. Add a little extra seasoning in the panko so the flavor still pops.
Honestly, I have made panko crusted chicken with whatever was around, and it still comes out craveable as long as you keep the heat high and do not overcook it.
Variations
This is where you can keep the base recipe but change the vibe so it does not feel like you are eating the same dinner on repeat.
Lemony herb: Add dried oregano or Italian seasoning to the panko, then finish the baked chicken with fresh lemon juice. The lemon at the end makes it feel bright and not heavy.
Spicy crunchy: Mix a little cayenne into the panko and serve with hot honey or your favorite spicy sauce. If you like heat, this is a fun one.
Ranch style: Mix a spoonful of ranch seasoning into the panko. This one is very family friendly and disappears fast.
Garlic Parmesan: Go heavier on the Parmesan, add garlic powder, and serve with marinara for dipping. It kind of gives chicken parmesan energy without the extra steps.
Sesame twist: Add a tablespoon or two of sesame seeds to the panko and serve with a simple soy dipping sauce. It is not traditional, but it is tasty.
Once you find your favorite variation, you will start craving it. That is usually when I know a recipe is a keeper.
What To Serve With Panko Chicken Breasts
I love that this chicken plays well with so many sides. You can keep it cozy, keep it light, or go full comfort food depending on the day you had.
If I am trying to be practical, I usually pick one veggie and one carb, and call it dinner. Here are my most repeated combos:
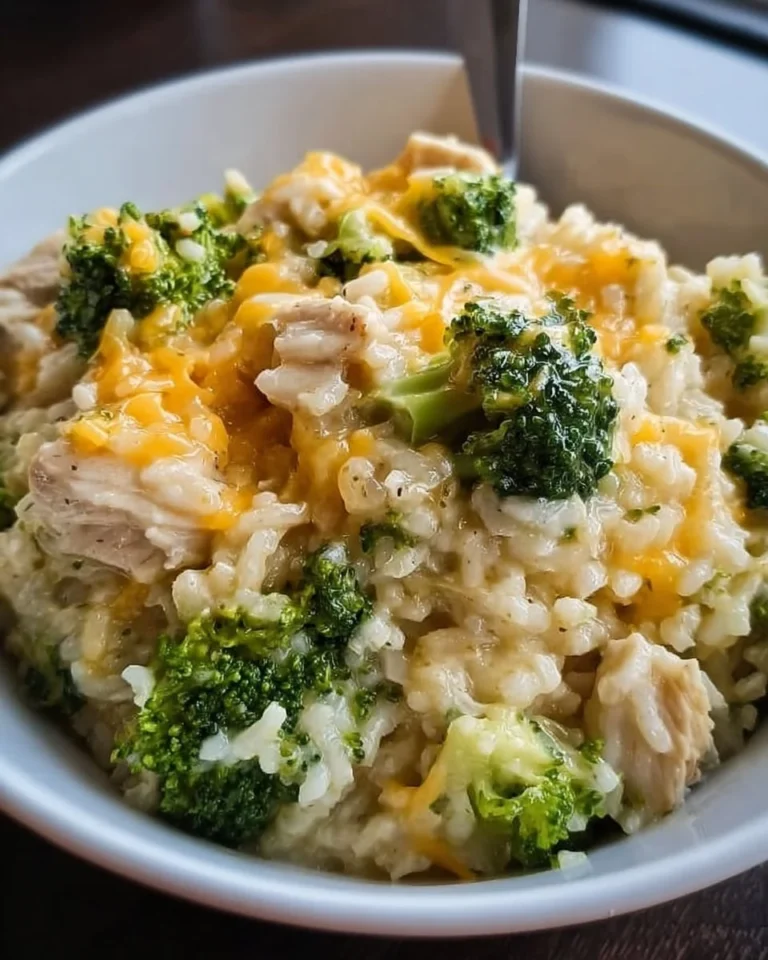
- Roasted broccoli or green beans, tossed with olive oil, salt, and pepper
- Mashed potatoes if you want comfort
- Rice or buttered noodles for a simple base
- Caesar salad if you want something crisp and cool next to the hot chicken
- Coleslaw for crunch on crunch, which I weirdly love
For sauces, ketchup is classic, but I also love honey mustard, ranch, or marinara. If you slice the chicken and drizzle a little lemon and olive oil on top, it is also great on a salad for lunch the next day.
One more thing, if you are meal prepping, store the chicken on a plate or container with a little space, and reheat in the oven or air fryer if you have one. The microwave works, but it softens the coating.
And if you want another solid take on this style of dinner, I have genuinely enjoyed reading and comparing notes with this recipe for Crispy Panko Crusted Chicken Breasts – Maple Jubilee. It is always helpful seeing how someone else seasons and bakes theirs, especially if you like tweaking little details until it is perfect for your kitchen.
Common Questions
Q: How do I keep the coating from falling off?
A: Pat the chicken dry first, then do the flour, egg, panko order. Press the crumbs on firmly and let the breaded chicken sit for 5 minutes before baking.
Q: Can I make this ahead of time?
A: You can bread the chicken a few hours ahead and keep it covered in the fridge. For the best crunch, bake it right before serving.
Q: How do I know when it is done without drying it out?
A: A thermometer is the easiest answer. Pull it at 165 F, then rest 5 minutes. If you keep baking after it hits temp, it will dry out.
Q: Can I air fry instead of bake?
A: Yes. Air fry at about 375 to 400 F and start checking around 10 to 14 minutes depending on thickness. Spray the top with oil for good browning.
Q: Why is my panko not getting golden?
A: Usually it needs more heat, more air flow, or a little oil. Try using a rack, do not crowd the pan, and lightly spray the coating.
That is my go to way to make panko crusted chicken at home, the version I lean on when I want something crispy and juicy without making a mess. Once you get the rhythm down, it becomes one of those recipes you can do while half listening to a podcast and helping someone with homework. It is simple, reliable, and honestly just really satisfying to bite into. 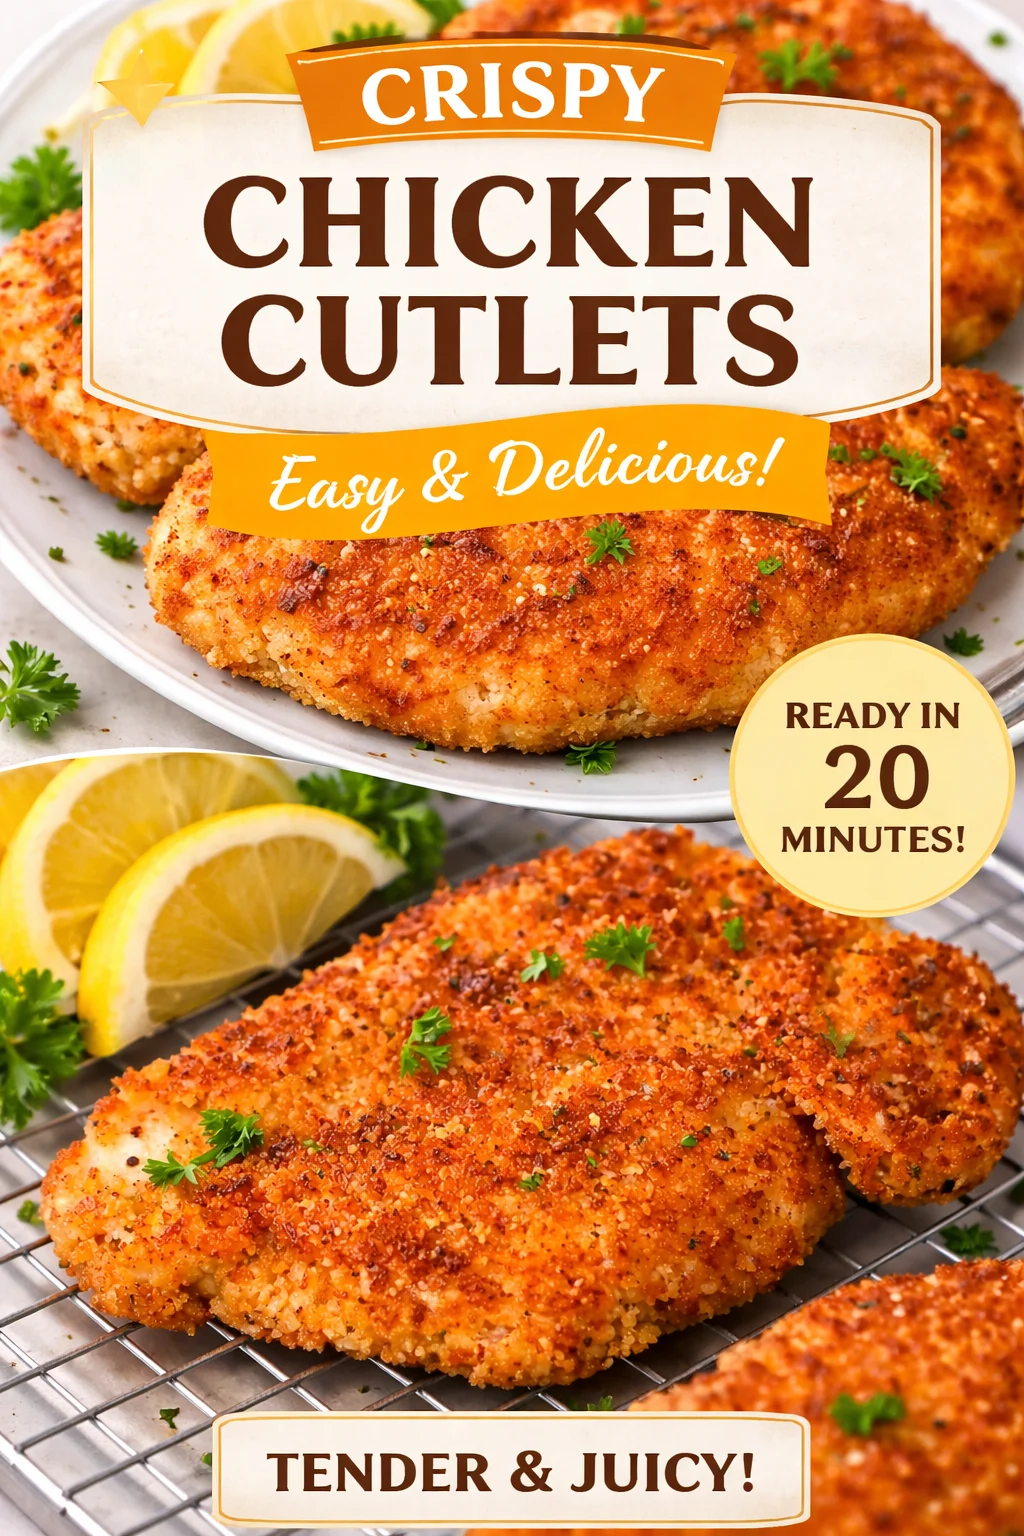

Panko Crusted Chicken
- Total Time: 37 minutes
- Yield: 4 servings 1x
- Diet: Gluten-Free option available
Description
A deliciously crispy and juicy panko crusted chicken recipe perfect for weeknight dinners.
Ingredients
- 4 chicken breasts (or cutlets)
- 1 cup panko breadcrumbs
- 1/2 cup grated Parmesan (optional)
- 2 eggs, beaten
- 1/4 cup flour
- Salt and pepper to taste
- 1 tsp garlic powder
- 1 tsp paprika
- Olive oil spray or a little oil brushed on top
Instructions
- Preheat your oven to 425°F (220°C).
- Prepare a sheet pan with parchment paper and place a wire rack on top if available.
- Set up three bowls: one with flour mixed with a pinch of salt and pepper, one with beaten eggs, and one with panko mixed with Parmesan, salt, pepper, garlic powder, and paprika.
- If using thick chicken breasts, flatten them between plastic wrap.
- Dip each piece of chicken into the flour, then into the egg, and finally press into the panko mixture.
- Place the breaded chicken on the prepared pan and lightly spray or brush the tops with oil.
- Bake for 18 to 22 minutes, checking for doneness (165°F/74°C in the thickest part).
- Let the chicken rest for 5 minutes before serving.
Notes
Resting the chicken keeps the juices inside for better flavor and texture. Consider variations with herbs or spices to change up the flavor.
- Prep Time: 15 minutes
- Cook Time: 22 minutes
- Category: Main Course
- Method: Baking
- Cuisine: American
Nutrition
- Serving Size: 1 serving
- Calories: 365
- Sugar: 1g
- Sodium: 375mg
- Fat: 16g
- Saturated Fat: 4g
- Unsaturated Fat: 10g
- Trans Fat: 0g
- Carbohydrates: 30g
- Fiber: 1g
- Protein: 30g
- Cholesterol: 150mg
Keywords: panko chicken, baked chicken, crispy chicken